Contouring is a makeup technique used to define and shape your face by creating shadows and highlights. While it may seem complicated at first, beginners can easily learn it with the right approach and simple steps.
This guide will help you understand how to contour your face as a beginner in the USA, using easy techniques and minimal products.
What is Contouring?
Contouring involves using a slightly darker shade than your skin tone to create shadows and a lighter shade to highlight certain areas.
The goal is to:
- Define facial features
- Enhance bone structure
- Add dimension to your face
It helps create a more sculpted and balanced appearance.
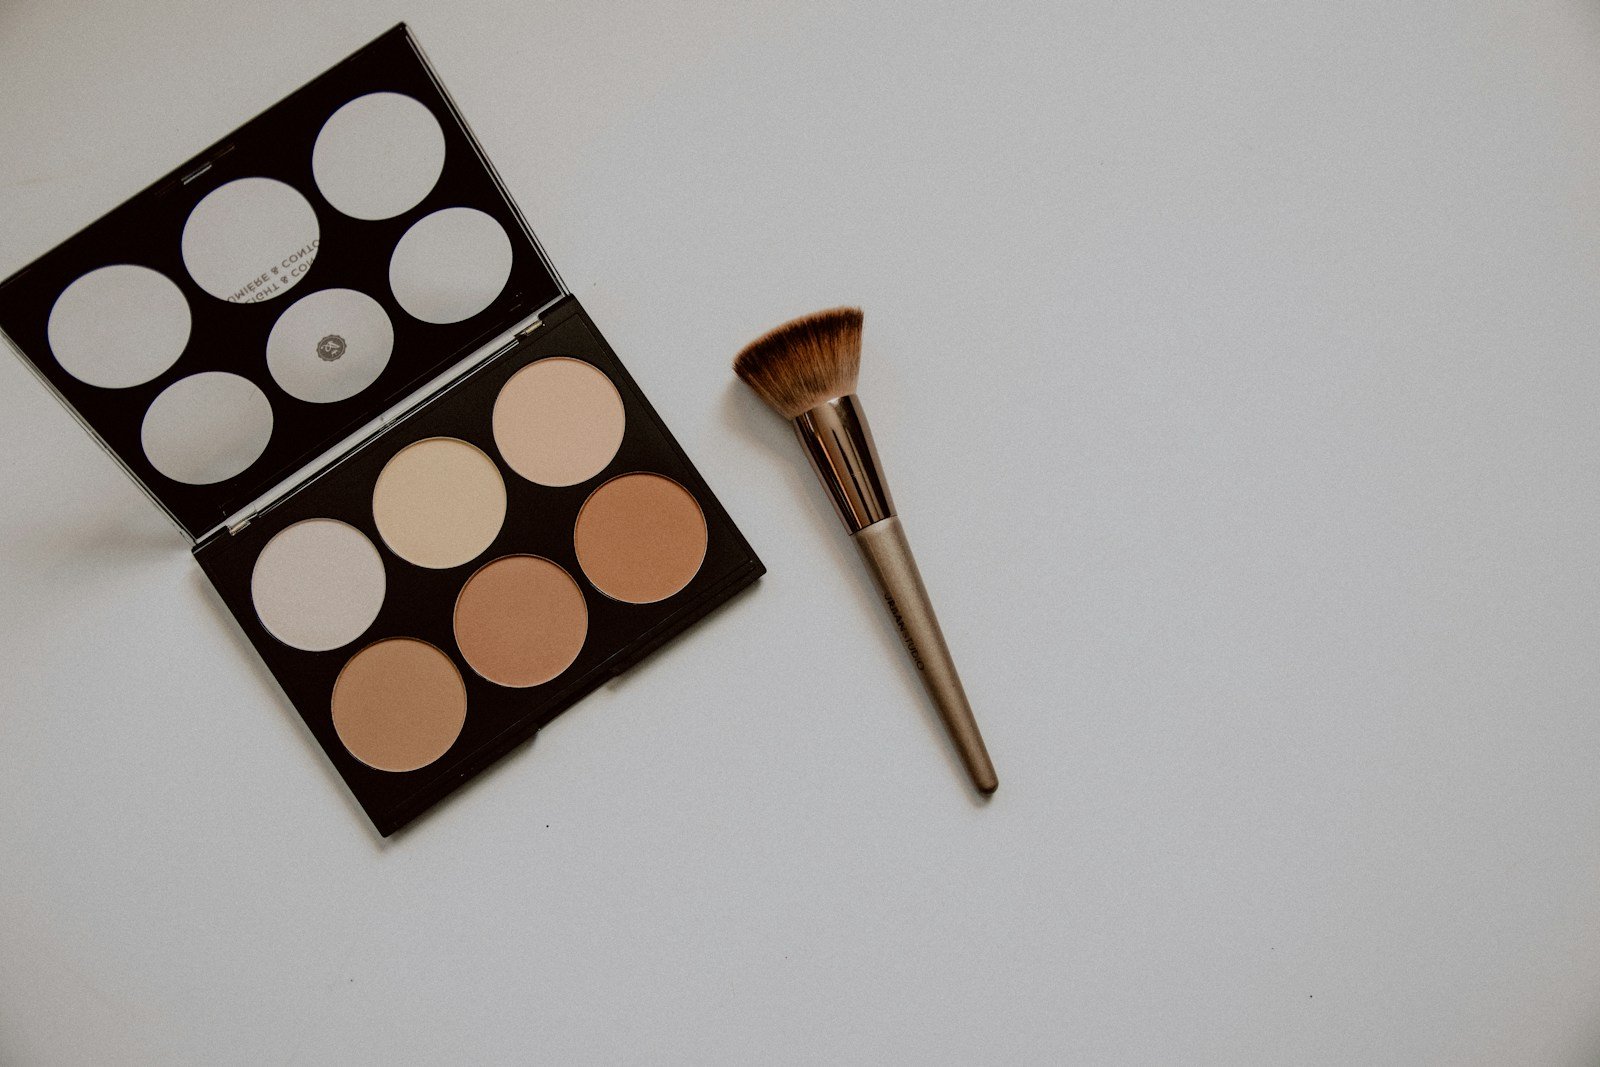
Types of Contour Products
As a beginner, you can choose from:
Cream contour
- Easy to blend
- Gives a natural finish
- Best for dry or normal skin
Powder contour
- Quick and beginner-friendly
- Ideal for oily skin
- Easier to control
Stick contour
- Convenient and travel-friendly
- Great for quick application
Start with powder if you are new, as it is easier to work with.
Choosing the Right Contour Shade
Pick a contour shade that is:
- 1 to 2 shades darker than your skin tone
- Neutral or cool-toned (not too orange)
Avoid using bronzer as contour because bronzer is meant to add warmth, not create shadows.
Tools You Need
Basic tools include:
- Contour brush or angled brush
- Blending brush or sponge
- Mirror with good lighting
You don’t need expensive tools—simple brushes work well.
Basic Contouring Placement
Here are the main areas to contour:
Cheekbones
Apply contour just below your cheekbones to create definition.
Jawline
Apply along the jawline to sharpen and define your face.
Forehead
Apply near the hairline to make the forehead appear smaller.
Nose (optional)
Apply thin lines on the sides for a slimmer look.
Step-by-Step Contouring for Beginners
Step 1: Apply Base Makeup
Start with foundation and concealer to create an even base.
Step 2: Apply Contour
Use a small amount of product and apply it to the key areas:
- Under cheekbones
- Along jawline
- Around forehead
Step 3: Blend Properly
Blend the contour using a brush or sponge.
Blending is the most important step. There should be no harsh lines.
Step 4: Add Highlighter or Concealer
Apply a lighter shade on:
- Tops of cheekbones
- Center of forehead
- Under eyes
This creates contrast and enhances the contour effect.
Step 5: Set with Powder
Lightly set your makeup with powder to lock everything in place.
Contouring Based on Face Shape
Different face shapes require slightly different techniques.
Round face
Contour the sides of the face and under cheekbones to add definition.
Oval face
Light contour on cheekbones and forehead to maintain balance.
Square face
Soften the jawline by blending contour around edges.
Heart-shaped face
Focus on contouring the forehead and cheekbones.
Common Mistakes to Avoid
Using too much product can make contour look harsh
Choosing the wrong shade can make it look unnatural
Not blending properly leaves visible lines
Applying contour too low on cheeks can drag the face down
Pro Tips for Natural Contour
Start with a small amount and build gradually
Always blend upward for a lifted effect
Use natural lighting to check your makeup
Keep it subtle for everyday looks
Beginner-Friendly Contour Routine
If you want a simple routine:
- Foundation
- Concealer
- Light contour under cheekbones
- Blending
- Powder
This is enough to create a natural sculpted look.
Final Thoughts
Contouring doesn’t have to be complicated. With the right products and techniques, even beginners can achieve a defined and natural look.
Focus on proper placement, blending, and using minimal product. With practice, contouring will become quick, easy, and a regular part of your makeup routine.